

Imagine capturing the softness of rose petals and the delicate folds of nature on paper — that’s the beauty of learning how to draw a rose.
Roses aren’t just flowers; they’re symbols of love, elegance, and emotion. Every artist, from beginner to expert, practices rose drawings to master shading, texture, and realism. In this rose drawing tutorial, you’ll learn exactly how to go from a simple circle to a fully bloomed rose.
You’ll also explore shading, perspective, and coloring tips — everything you need to create a realistic rose sketch that truly stands out.
🌿 Why Learning How to Draw a Rose Matters

Roses teach key artistic lessons — patience, observation, and proportion. Learning how to draw a rose flower helps you:
- Practice smooth shading transitions and light control.
- Understand organic shapes and curved lines.
- Develop observation skills for detail and texture.
- Create emotionally expressive art — from romantic sketches to tattoo designs.
Whether you’re doing rose drawing for kids or creating detailed fine art, this simple exercise builds foundational drawing skills you’ll use for every subject.
✏️ Materials You’ll Need
Before you start your step by step rose drawing, gather these essentials:
| Tool | Purpose |
|---|---|
| HB pencil | Light outlines |
| 2B–6B pencils | Shading & contrast |
| Eraser | Highlights & corrections |
| Sharpener | Clean lines |
| Sketchbook or paper | Drawing surface |
| Blending stump/tissue | Smooth shading |
Optional: colored pencils, markers, or a digital tablet if you plan to color or digitize your drawing later.
💡 Pro Tip: Use soft graphite (2B–6B) to make your realistic rose drawing appear natural and three-dimensional.
🌸 Step-by-Step Guide: How to Draw a Rose
This easy rose drawing step by step tutorial will help you create a rose that looks elegant, natural, and realistic.
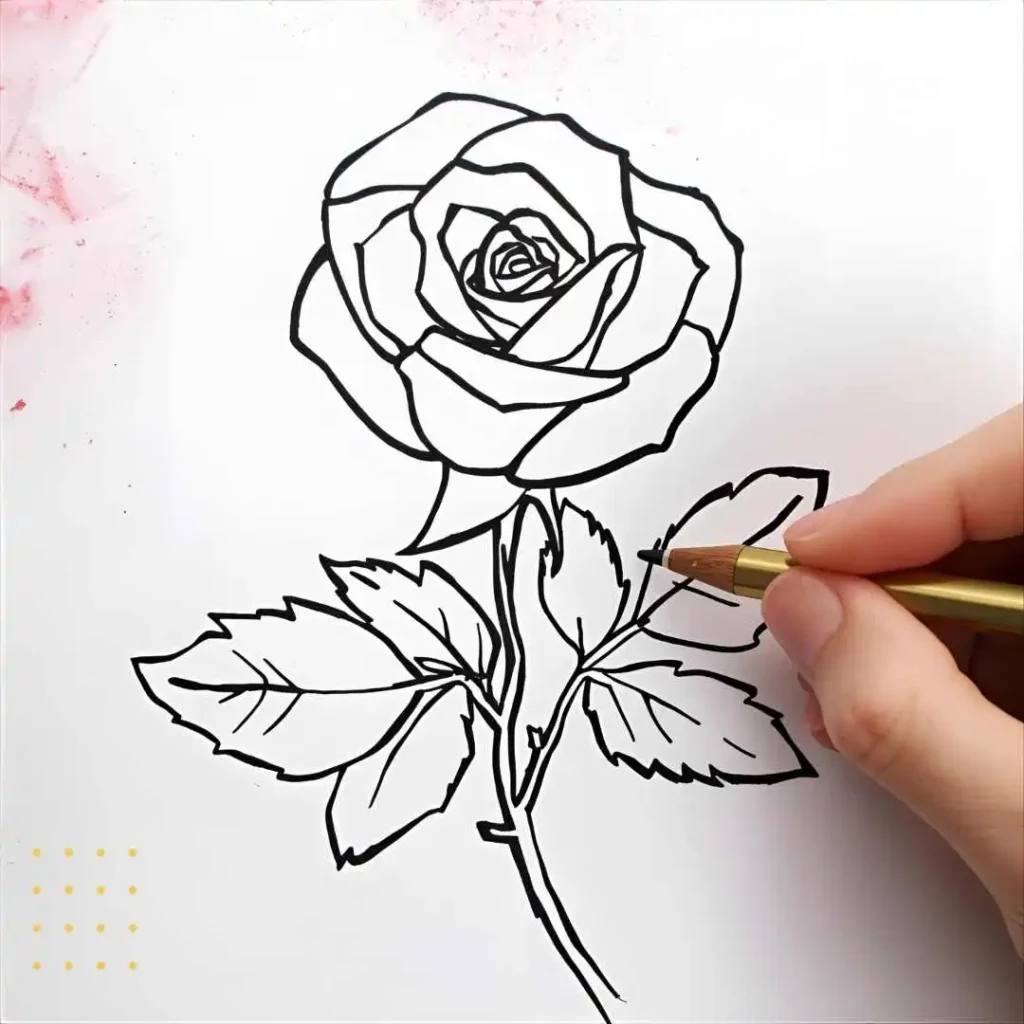
Step 1: Draw the Basic Outline
Start by lightly sketching a circle — it will define your rose’s size. Inside that circle, draw a small spiral to represent the center petals.
Keep your pencil strokes soft — these are just guidelines for your simple rose drawing.
Visualize the spiral as the “heart” of your rose — the starting point of life.
Step 2: Build Inner Petals
Add small curved shapes around the spiral. Let them overlap slightly — natural roses have irregular, layered petals.
Don’t aim for perfect symmetry. Each petal should have a different curve or width.
This step helps you practice rose drawing techniques for natural variation and flow.
Step 3: Add Outer Petals
Now widen your drawing by adding larger petals that wrap around the rose center.
Use sweeping, curved lines. Outer petals usually open outward, creating that signature rose bloom shape.
As you move outward, your rose drawing outline should start looking full and soft.
Step 4: Draw the Stem and Leaves
Extend a slightly curved stem downward — roses rarely grow straight. Add two or three leaves with pointed tips and visible veins.
To complete your drawing a rose with stem and leaves, make sure to:
- Draw jagged edges (rose leaves are serrated).
- Add a main vein with smaller side veins.
- Keep proportions balanced with the flower.
For extra detail, include tiny thorns along the stem — a realistic touch for any realistic rose sketch.
Step 5: Refine the Details
Go back to your petals and clean up extra lines. Sharpen petal edges where they overlap and erase unnecessary marks.
Add small curves or folds to petals for depth. This refinement makes your rose drawing with pencil more realistic and three-dimensional.
Step 6: Shade the Rose
Shading transforms your flat sketch into lifelike art. Here’s how to shade a rose drawing effectively:
- Darken the inner petals — less light reaches them.
- Gradually lighten shading outward for softness.
- Follow petal curves when shading — this enhances realism.
- Use a blending stump or tissue to smooth transitions.
- Leave some edges light for highlights.
🌤️ Light Source Tip: Always decide where your light is coming from — top, left, or right — before shading. It keeps shadows consistent.
Step 7: Add Petal Texture
Draw faint curved lines along each petal to mimic natural texture. Darken undersides of overlapping petals for shadow depth.
Use your eraser tip to lift tiny highlights where light hits the petal edges. These small details make your how to draw a realistic rose result look professional.
Step 8: Finishing Touches
Stand back and review your rose. Darken the stem, refine leaf veins, and adjust any uneven shading.
Optional ideas:
- Add dew drops with gentle highlights.
- Shade the background for contrast.
- Blend softly under the flower to “ground” it on the page.
Your how to draw a rose step by step easy project is now complete — a perfect balance of realism and simplicity.
🌹 Drawing Styles to Try
Once you’ve mastered the basics, experiment with these rose drawing ideas to expand your artistic skills.
| Style | Description | Difficulty |
|---|---|---|
| Realistic Rose Drawing | Focus on shading and fine detail. | ⭐⭐⭐ |
| Simple Rose Drawing | Minimal lines, ideal for beginners. | ⭐ |
| Cartoon Rose | Bold outlines and color, great for kids. | ⭐⭐ |
| Digital Rose Drawing | Use digital brushes for smooth tones. | ⭐⭐⭐ |
| Minimalist Outline | Continuous line art — modern and elegant. | ⭐⭐ |
💡 Tip: Combine different styles for creative effects — for instance, draw a minimalist rose with watercolor highlights.
🌼 How to Draw a Rose Bud (Easy for Beginners)
A rose bud is perfect for beginners or quick sketches.
- Draw a small oval shape — the closed bloom.
- Add curved lines around it to show wrapped petals.
- Sketch a thin stem and two tiny leaves.
- Shade lightly — buds have softer shadows.
This makes a great rose drawing for kids or a warm-up before drawing full roses.
💖 How to Draw a Rose with a Heart
Romantic and symbolic, this combination works beautifully for tattoo designs or greeting cards.
- Start with a heart shape.
- Draw a rose bloom emerging from one side.
- Blend the petal curves into the heart outline.
- Shade gently to merge both shapes.
It’s a creative twist on how to draw a rose flower that adds emotional meaning.
🕒 Quick Difficulty & Time Guide
| Step | Difficulty | Time (approx.) |
|---|---|---|
| Outline & Spiral | Easy | 5 min |
| Inner Petals | Moderate | 10 min |
| Outer Petals | Moderate | 10 min |
| Stem & Leaves | Easy | 8 min |
| Shading | Challenging | 15–20 min |
| Finishing Touches | Easy | 5 min |
Total time: about 45–60 minutes for a full realistic rose drawing.
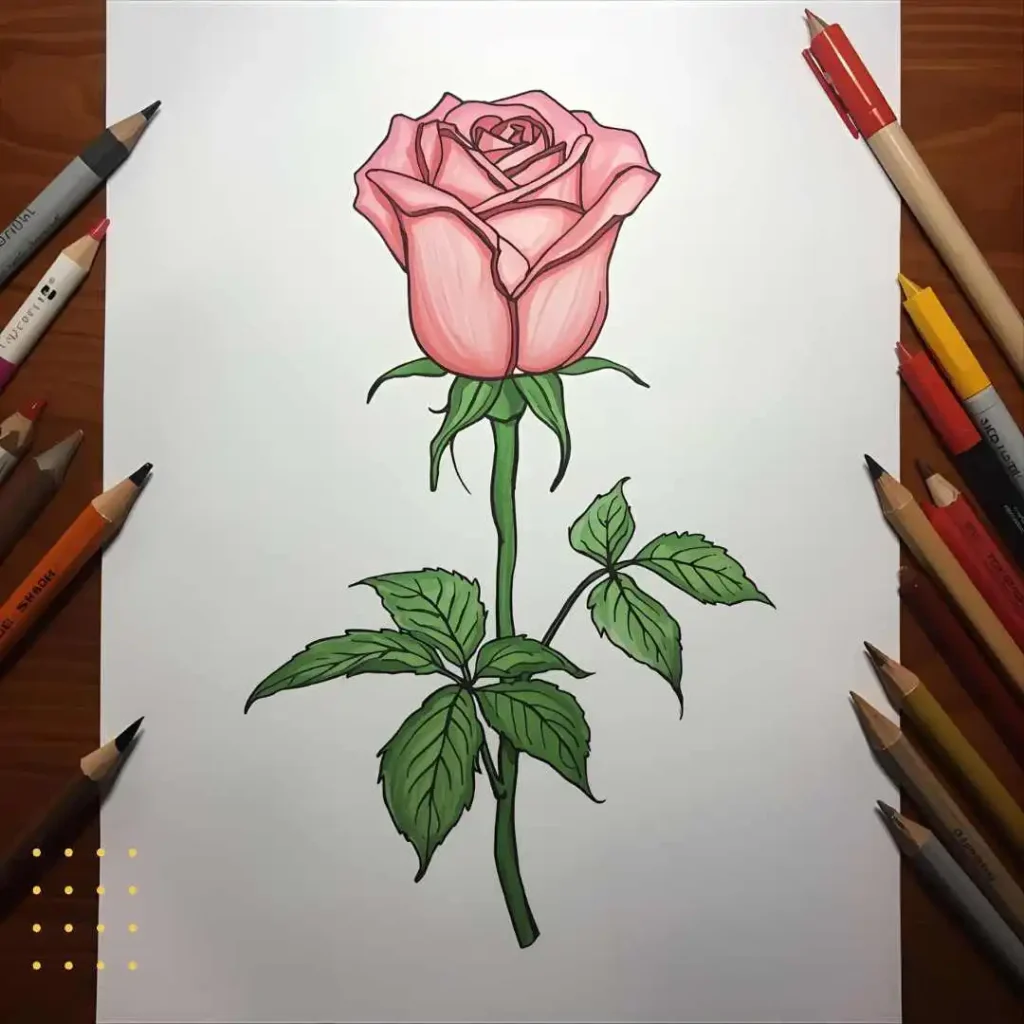
🎨 Coloring Your Rose Drawing
Adding color makes your rose come alive. Use colored pencils, markers, or digital brushes.
| Color | Meaning | Shades to Use |
|---|---|---|
| Red | Love, romance | Crimson + dark red center |
| Pink | Grace, elegance | Light pink + peach edges |
| White | Purity | Light grey + pale blue shading |
| Yellow | Joy, friendship | Golden yellow + orange tones |
| Black/Blue | Mystery | Deep navy + charcoal |
Color in the direction of each petal’s curve to maintain realism.
💡 Practice Exercises
To master how to draw a rose, practice daily:
- Draw petals individually for 5–10 minutes.
- Sketch small roses from memory.
- Study photo references and replicate shading.
- Experiment with rose drawing techniques like cross-hatching or stippling.
- Keep a weekly rose sketch journal to track improvement.
Consistency builds confidence — even 15 minutes a day improves your art drastically.
🌻 Common Mistakes and Fixes
| Mistake | Why It Happens | How to Fix It |
|---|---|---|
| Petals look flat | No shading variation | Add darker tones at inner folds |
| Rose looks stiff | Too symmetrical | Vary petal size & curve |
| Shading looks rough | Pressing too hard | Use softer pressure & blend |
| Leaf veins too harsh | Hard lines | Lighten with eraser tip |
| Overdrawn outlines | Excess pencil marks | Erase gently after refining |
🌷 Symbolism of Roses in Art
Every color of rose has meaning — incorporate them to give emotional depth to your drawings.
- Red: Love, courage
- Pink: Gratitude, admiration
- White: Peace, innocence
- Yellow: Happiness, friendship
- Blue/Black: Mystery, uniqueness
Understanding symbolism helps when designing cards, tattoo art, or themed illustrations.
🧠 Pro Tips for Realistic Rose Drawing
These rose drawing techniques improve your art naturally over time.
- Use reference photos to study real petal curves.
- Always start light — it’s easier to darken than erase.
- Observe where light hits and shadows fall.
- Rotate your paper for smoother strokes.
- Practice petal overlaps — that’s the secret to realism.
💬 Frequently Asked Questions
Q1: What’s the easiest way to draw a rose?
Start with a spiral and build outward with curved petals — it’s the simplest step by step rose drawing for beginners.
Q2: How can I make my rose drawing realistic?
Focus on gradual shading, petal folds, and highlights. Observe real roses for accuracy.
Q3: Can I draw a rose with a pen instead of pencil?
Yes, just outline lightly in pencil first, then trace with ink for clean lines.
Q4: How long does it take to draw a rose?
A detailed realistic rose drawing usually takes 45–60 minutes.
Q5: Is rose drawing good for kids?
Absolutely! Rose drawing for kids improves hand-eye coordination and creativity.
🌼 Conclusion:
Drawing a rose may seem challenging at first, but with practice, patience, and the right steps, anyone can master it. By following this how to draw a rose guide, you’ll learn to capture the rose’s delicate beauty through simple lines, curves, and shading.
Keep sketching regularly, experiment with colors, and soon your roses will bloom beautifully on paper. Remember — every great artist starts with a single line!

